On this page:
To learn more about students see Getting started with students. If you’re a district or school manager, you can import large numbers of students at one time using a CSV file (see Import new students from a file).
Add new students
Before students can access the product, you must add (enroll) the students into the system. Use the Students page to add students.
Required student information
The following information is required when adding a student. All other fields are optional. To automatically generate a unique student username and password, use the Autogenerate Username and Autogenerate Password buttons next to the Student Username and Student Password fields. For tips on choosing your own student usernames and passwords, see About student usernames and passwords.
- First Name, Last Name, Date of Birth (these three identifiers together must be unique across the district)
- Student Username (must be unique across the district)
- Student Password (not case sensitive; the system will save all letters as lowercase)
- Grade, Gender, English Language Learner (ELL), Special Education, School
Additional student information
You can opt to enter more information for a student, as needed.
- Middle Initial (MI)
- School Staff (selections are limited based on your staff role)
- Group (selections are limited based on your staff role)
- Student ID (must be unique across the district)
- Parent Email 1 and 2
- Race/Ethnicity (only one option allowed):
- Aboriginal, American Indian or Alaska Native, Asian, Black or African American, Hispanic/Latino of any race, Native Hawaiian or Other Pacific Islander, Other, White
- Title 1
- Migrant Student
- Additional Info 1, 2, 3
- Additional Classifications (can select more than one): Dyslexia, Down Syndrome, Phonological Disorder, Autism, Asperger’s Syndrome, Expressive Communicative Disorder, Developmental Delay, Special Learning Disability, Attention Deficit Disorder, Rett’s Disorder, Childhood Disintegrative Disorder, Receptive Communication Disorder
Add a new student to mySciLEARN
- In mySciLEARN Manage section, click the Students tab to access the Students page.
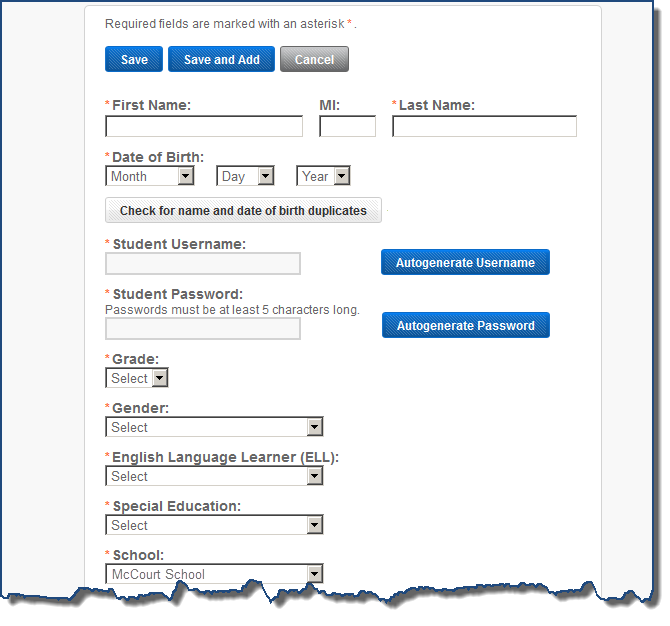
- Click the +New Student button to open the New Student screen. If there are no students in the system yet, a note appears in the middle of the screen with a New Student button. Click that button instead. The New Student screen appears:
- On the New Student screen, enter the student’s first name, last name, and date of birth into the profile.
- If it is the same student, you can check with a district manager to request that the student be transferred to your school.
- If it is a different student, change the student name for this new student.
- Enter the rest of the required student information into the profile: username, password, grade, gender, ELL status, SES status, school
- Student usernames must be unique across the system. Use the Autogenerate Username button.
- Passwords are not case sensitive. Use the Autogenerate Password button.
- Enter any additional information for the student, as needed.
- If you enter a student ID, it must be unique across the district.
- Click the Show Additional Information at the bottom of the screen to view the rest of the student information fields, then enter any relevant information.
- Add the student to a group by selecting that group under Group.
- If you are a district manager or school manager, select school and staff associations in the profile, as needed:
- Select a school from the School menu, if needed.
- Associate the student with instructors under School Staff. An instructor must be associated with a student to work with that student.
- Click Save to create the student profile and end the process, or click Save and Add to create the student profile and add another new student.
This information must be unique across the system. To check this use the Check For Name And Date of Birth Duplicates button. If a duplicate exists, verify whether this is the same student or a different student.
To add the student to multiple groups, press and hold the Shift key on Windows or the Command (Apple) key on Macintosh while selecting the groups in the list. If you don't have any groups yet, you can cancel this process and create a group before you add the student, or you can continue and the student will be automatically added to Default Group (see About the Default group).
To select multiple staff members, press and hold the Shift key on Windows or the Command (Apple) key on Macintosh while selecting the items in the list. Or, select staff associations on the Student Profile page after you save the new student.
If you are an instructor, the student is automatically associated with you. To associate another instructor see Associate students with instructors.
If the student is using Fast ForWord Auto Assign, the process is complete. If not, you must manually assign a component to the student. See the following topics for details:
Edit student information
Use the Student Profile to review and update a student’s profile; for example, if any of their information has changed, such as Parent Email or Title 1 status.
To edit other information in a student's profile, see the following topics:
- Edit Fast ForWord assignments
- Set Auto Assign and RPI for students
- Associate students with instructors (district or school managers only)
- In mySciLEARN Manage section, click the Students tab to access the Students page.
- Locate the student in the students list. See The students list.
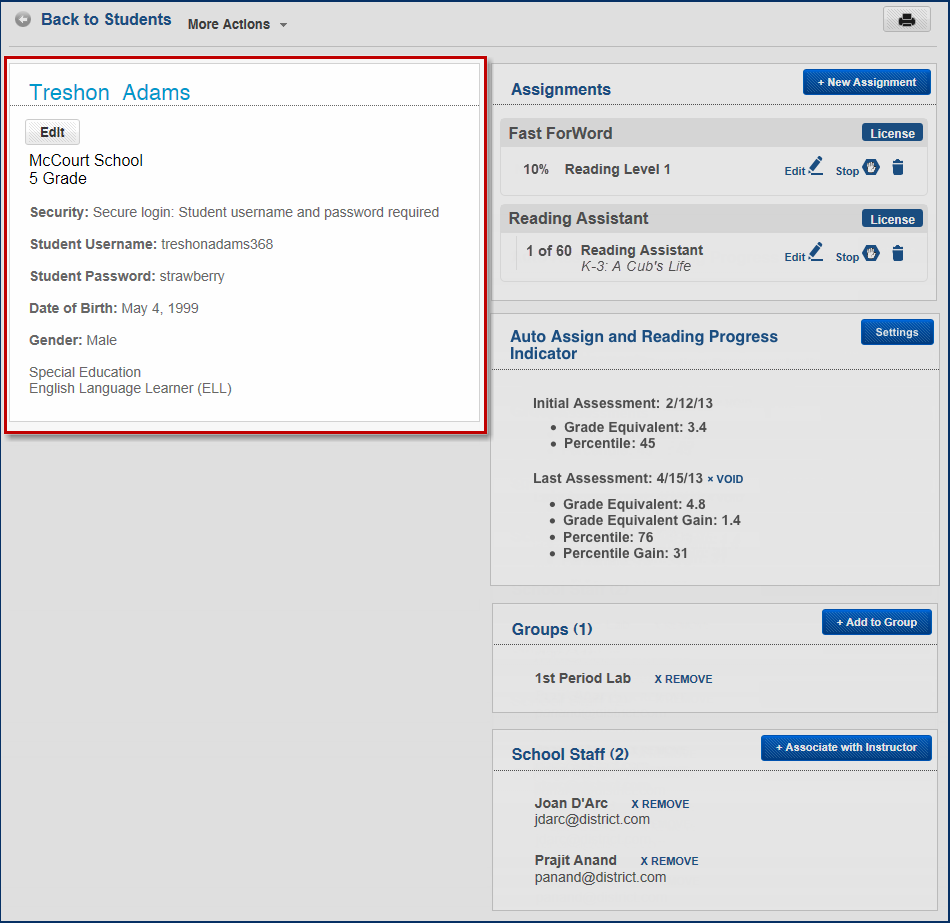
- Click the student’s name to open that student’s profile.
- Click the Edit button under the student’s name to open the student information for edit.
- Make any necessary edits and click Save.
For details on the information available for edit, see Required student information.
Delete students
You can permanently delete a student from the system; for example, if the student moves to a new district that is not using mySciLEARN, or the student will no longer use the Fast ForWord components.
Warning! This option permanently deletes that student and his or her data from mySciLEARN, and you will not be able to recover it. If a student is only completing a component or is transferring to another school, do not delete the student. Instead, perform one of these tasks:
- In mySciLEARN Manage section, click the Students tab to access the Students page.
- Locate the students in the students list. See The students list.
- Select the checkbox next to those students, or select the All checkbox at the top of the students list to select all of the students on the screen.
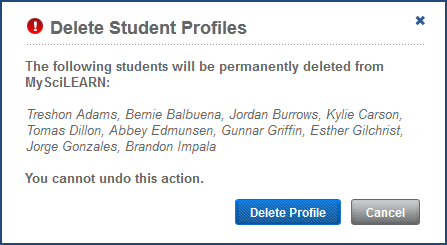
- From the More Actions menu, select Delete Student Profile.
- On the confirmation message, click Delete Profile.